While I was serving as a missionary in Serbia in 2003, Elder Hoggan, a retired Air Force pilot, showed us how to spit-shine shoes by working in layer after layer of shoe polish. As the thin layers of polish build up, they become very smooth and reflective. In addition to the basic technique, Elder Hoggan demonstrated that many of the first layers can be skipped by lighting a match and melting in a base coat of polish.
Spit-shining shoes is surprisingly addictive, and over the next few weeks, my companion and I worked on getting a mirror finish while studying and making phone calls. A day or two into the process, we had gone through a box of matches and realized that a candle would be a more convenient source of heat. After buying some candles, I made a makeshift candle holder out of a ceramic salt and pepper holder that I found in the apartment; the built-in toothpick holder was perfect for jamming candles into. Once I had a steady flame, my reawakened love of fire began crowding out my newly-found interest in shining shoes.
As any pyro will happily tell you, candle wax is a lot of fun. For instance, you can spend hours just coating your fingers with paraffin. When that gets boring, you can start dipping other objects in wax. Matches are particularly fun: a match dipped in wax will put off a large flame for a few seconds. So anyway, the fun might have ended there, except for a nice bit of luck. The salt and pepper holders on either side of the toothpick holder started collecting wax that dripped off from the candle. These areas were the perfect size and shape for dropping in matches, which served as wicks. Furthermore, we could add a number of matches in these newly-made side candles and get a hot little fire going. After a few days we purposely melted wax into the side candles to increase their size, and we quickly forgot about the center candle, which was now just a pool of melted wax. Eventually the side fires got so hot that the center pool of wax began to shoot up a flame without any wick present. That was a thrilling moment.
It was my good fortune that we still gave some attention to our shoes. Part of the spit-shining technique is to use water to smooth out each new layer of wax. Because of this, we had a little cup of water near the candle. Somehow having the boiling wax and water near each other made me think about how similar wax is to grease. If you get any water in hot grease, the grease will splatter everywhere. My curious side beat out my safety-minded side, and I dropped a bit of water into the boiling paraffin. The reaction was a puff of fire. As my companion and I experimented and developed the technique, we were able to make a ball of fire fly up four or five feet in the air, nearly to the ceiling of the apartment!
In my experimentation, I found that wax is comparatively safe. Paraffin only burns when it is a vapour. This is why candles have wicks. The burning wick gets the wax hot enough to vaporize, and then it ignites the air-vapour mixture. The burning wax vapour is what makes up most of the candle flame, but the flame can't sustain itself if you take the wick away. From what I've been able to find online, candle wax generally has a flash point of about 395 degrees. If the temperature of the wax is less than that, it won't burn on its own. In the case of the fireball made by dropping water in wax, the spraying wax cools down dramatically within a few seconds, and by the time it can hit anything it's far too cool to be able to burn. I'm definitely careful to keep combustible items away, but the flame has always seemed to be very much under control.
In the remainder of 2003 and in 2004, I occasionally brought out my salt, pepper, and toothpick holder and recreated the experiment. However, I eventually broke the ceramic container, and I had to find some other way to make it work. I tried a variety of ceramic containers, but I just couldn't find anything as good as the original. The main problem was getting something that could hold both wax and matches without the matches drowning. I was able to improvise by adding a little mesh of wire to hold the matches up. Even then, however, the containers weren't shaped in such a way that they naturally shot the wax straight up.
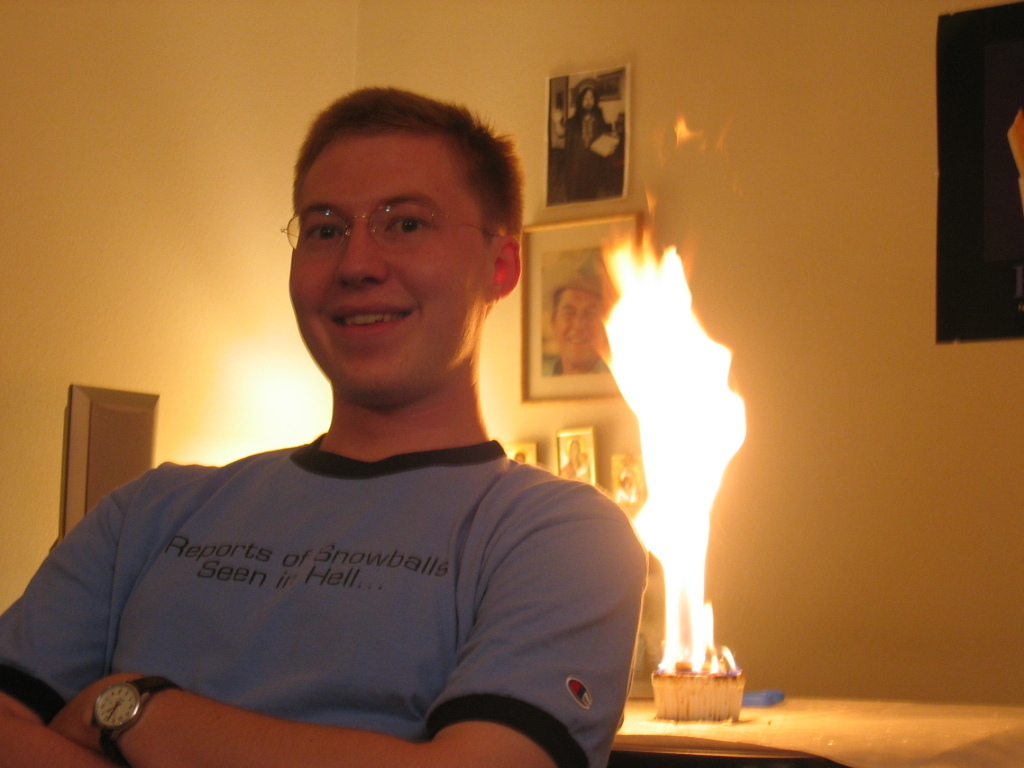
In August 2006, I was helping make a photo directory for my church congregation. I didn't want my picture to be a boring mug shot, so I decided to try to get my picture taken in front of a ball of fire. My roommates were more than happy to help out. By using the tricks I mentioned above, we were able to get some fairly good results. Here are some of the pictures (all taken by Topher):
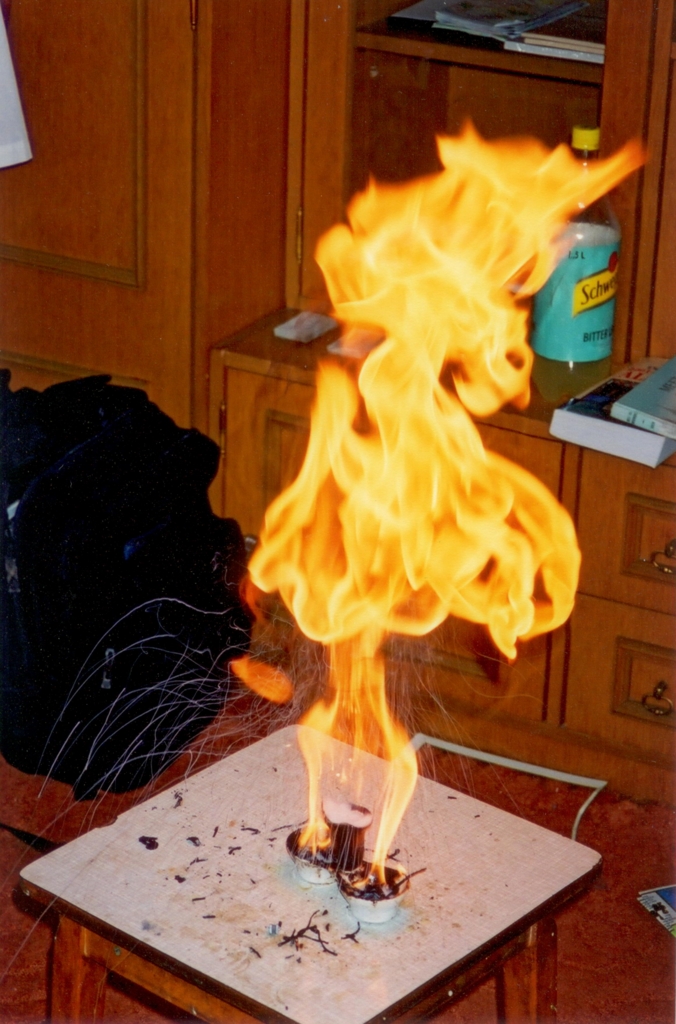
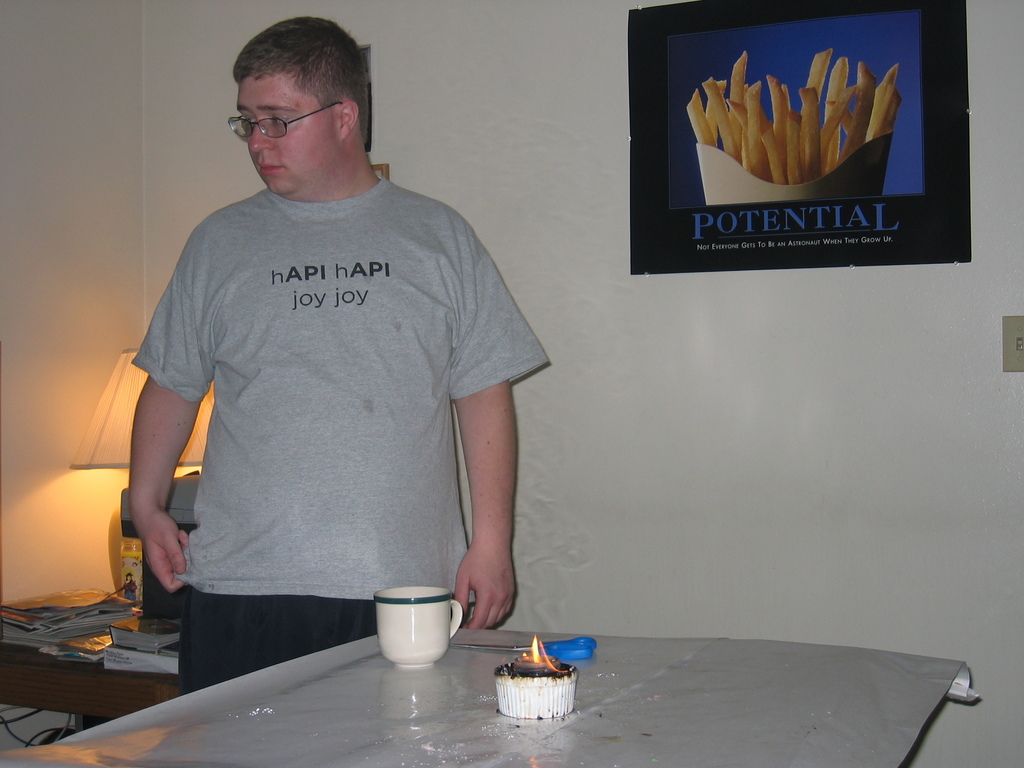
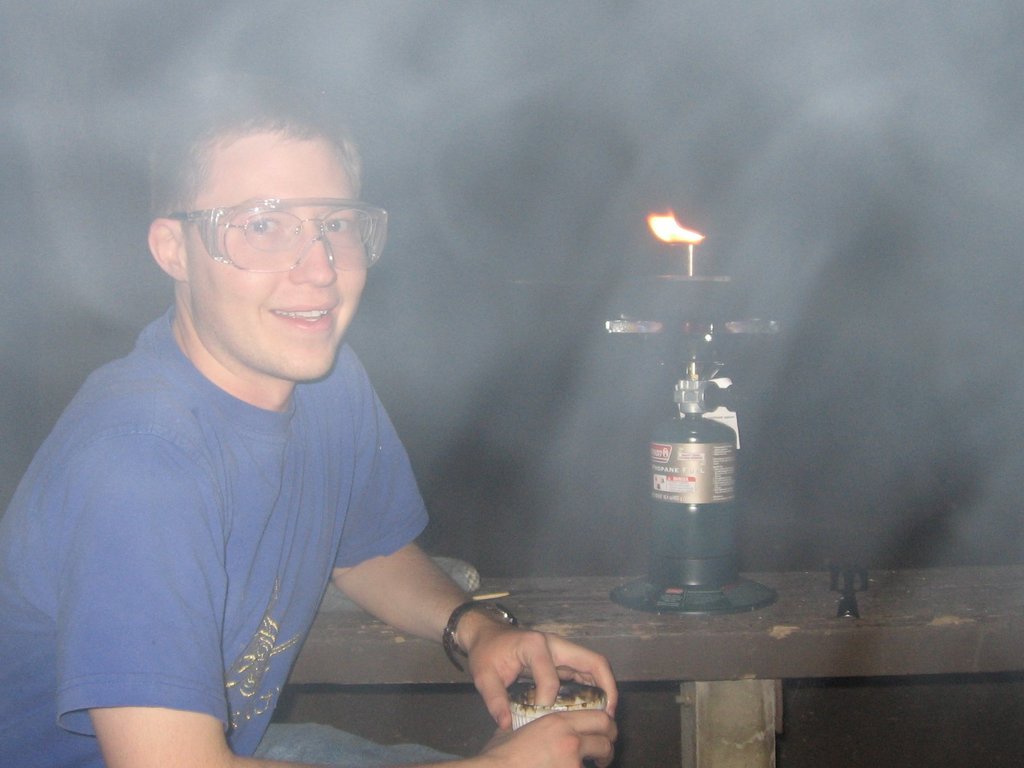
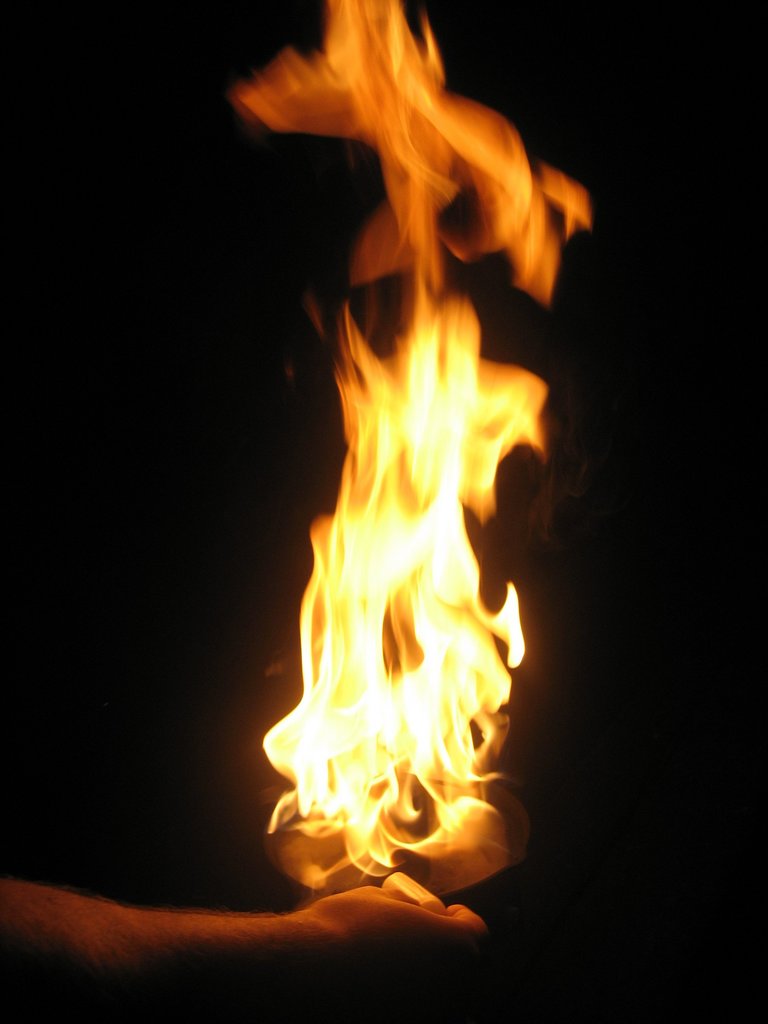
This photo shows the basic setup, with the unagitated fire. It also shows Sco++ not being aware of the camera. :)
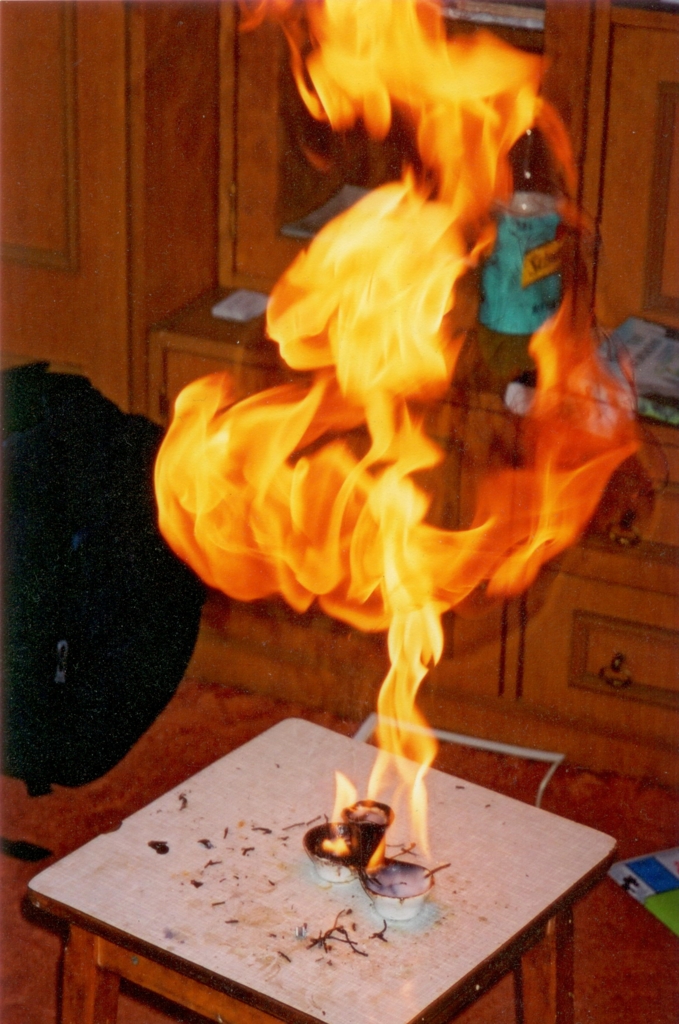
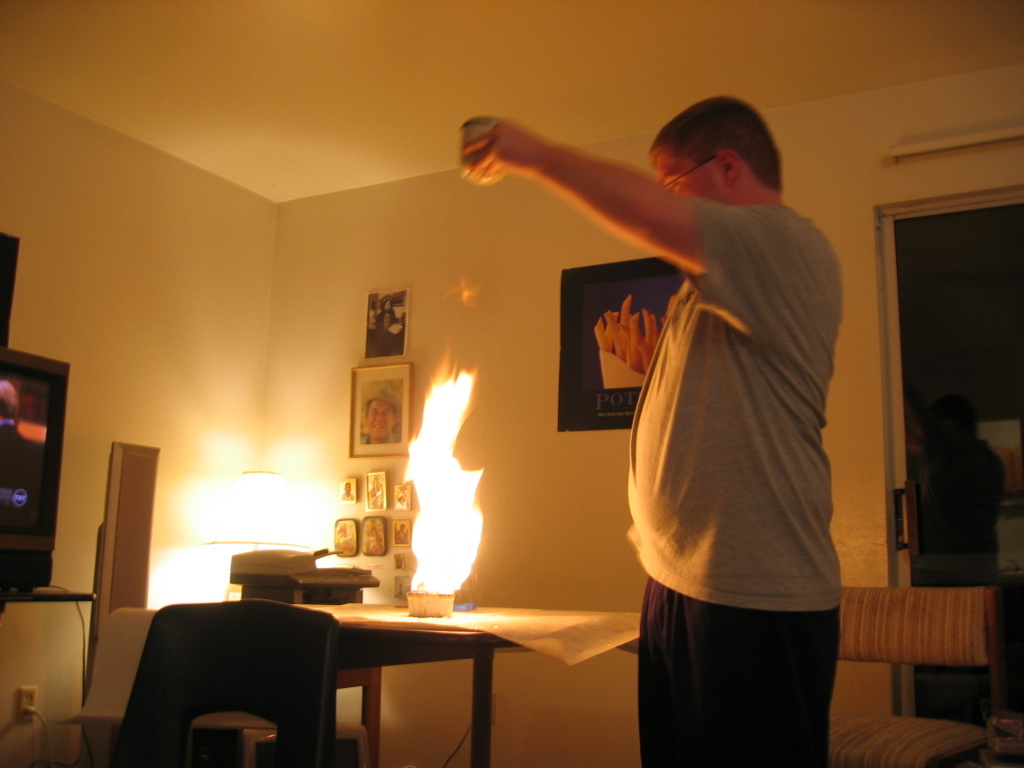
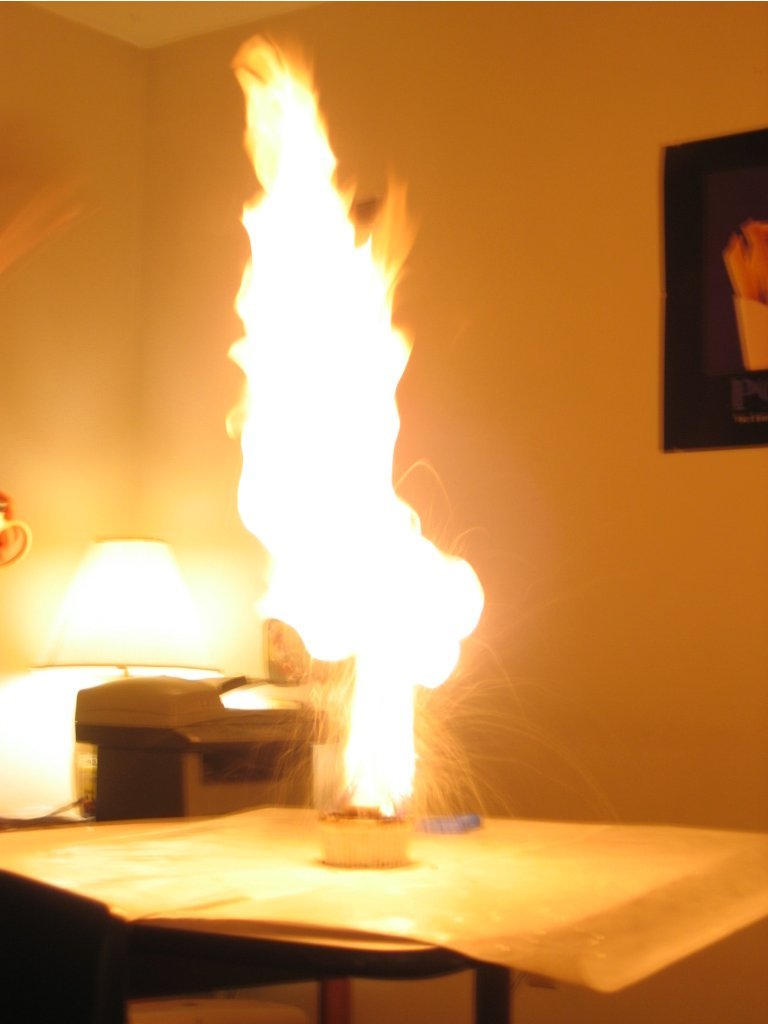
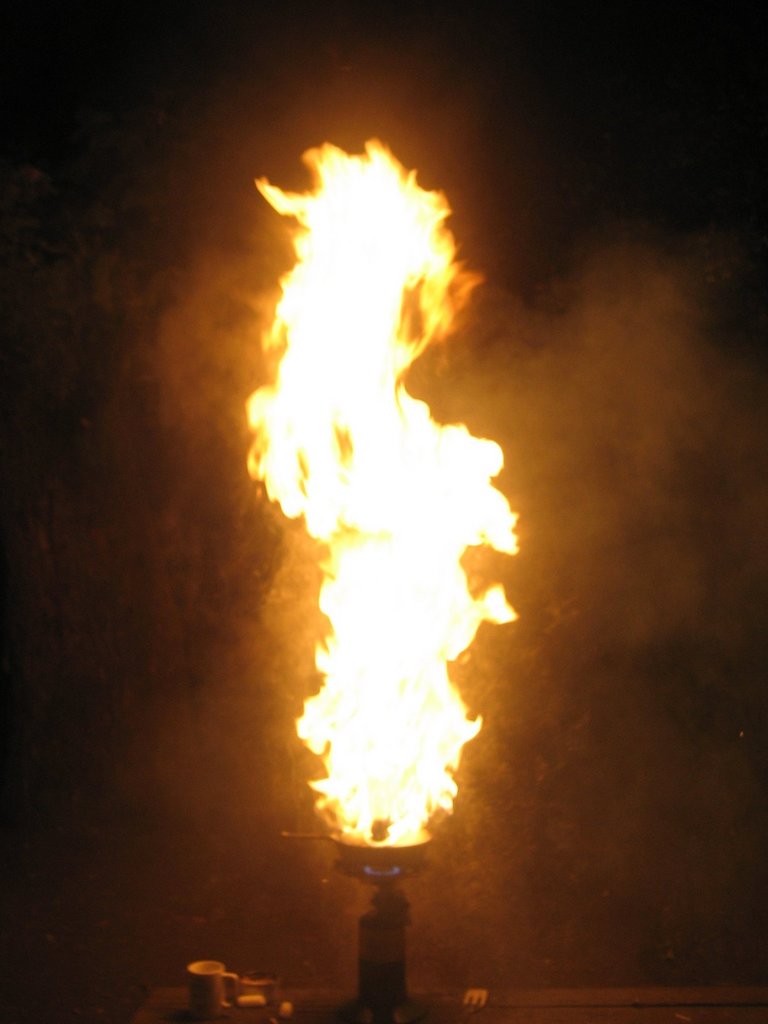
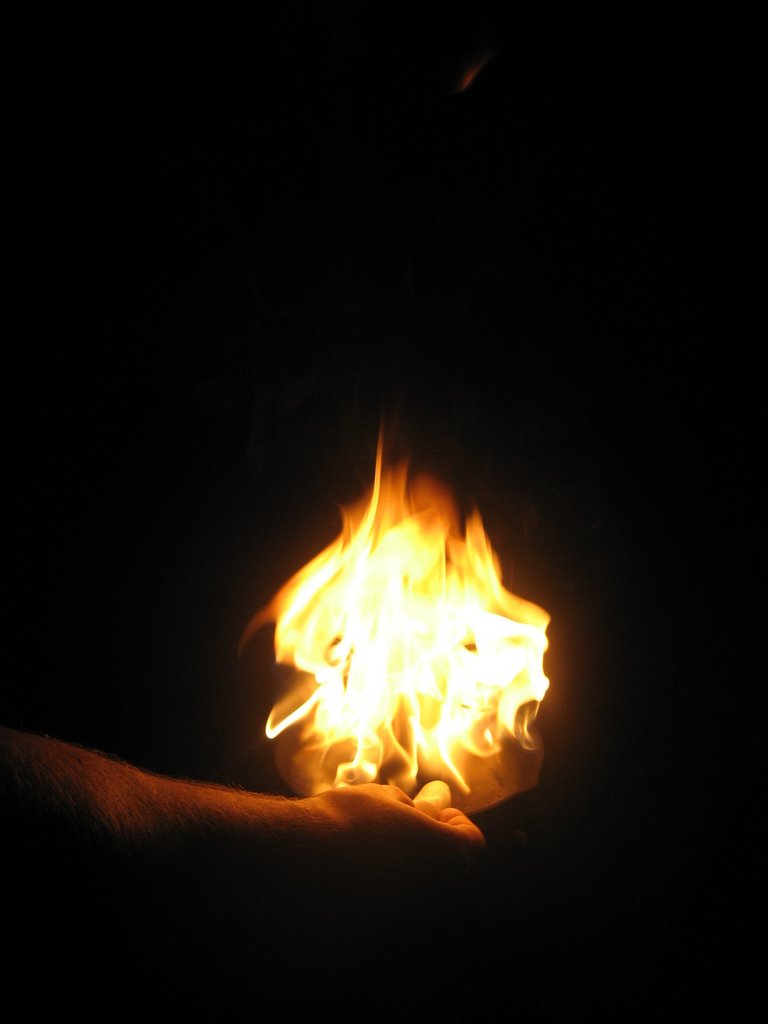
The following photos show Sco++ dropping some water in and demonstrate the basic idea of how it works. Note that it's ideal to have a single large drop of water that will sink as deep as possible into the wax, and therefore shoot as much wax as possible straight up.

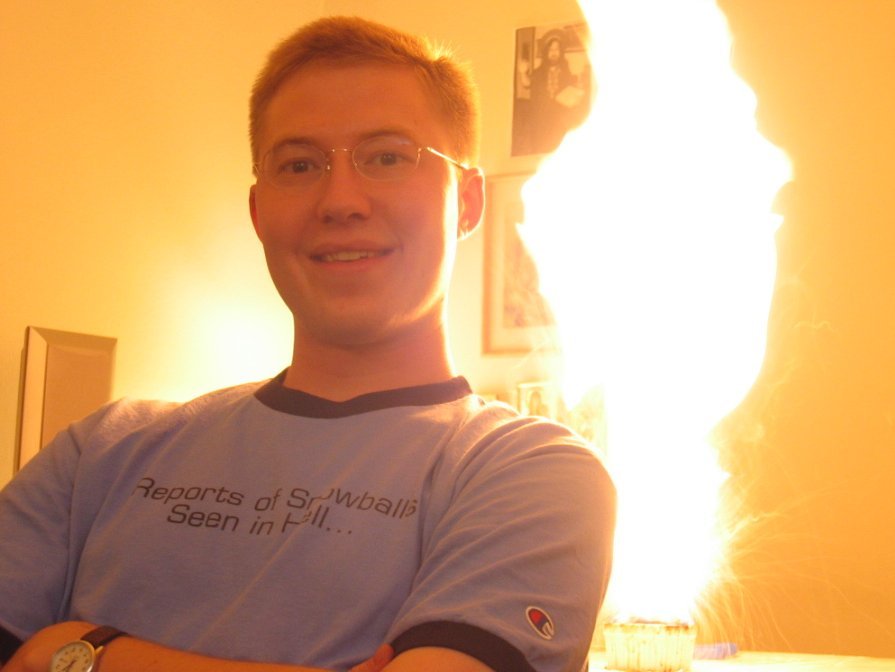
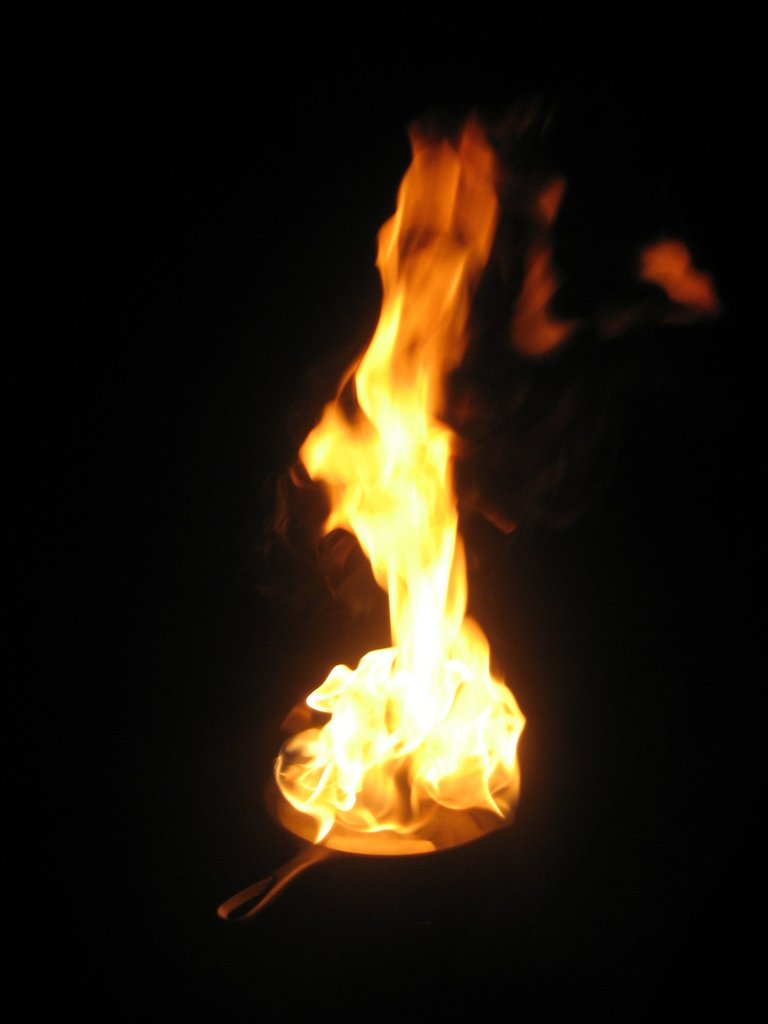
When we first started to take pictures to be used for the directory, we didn't quite have the camera settings worked out yet. In the first two, since the exposure time was really short, it looks like there was less fire than there really was. They're still pretty cool, though. The third picture was "good enough" to be the final picture, but luckily we gave it another try.
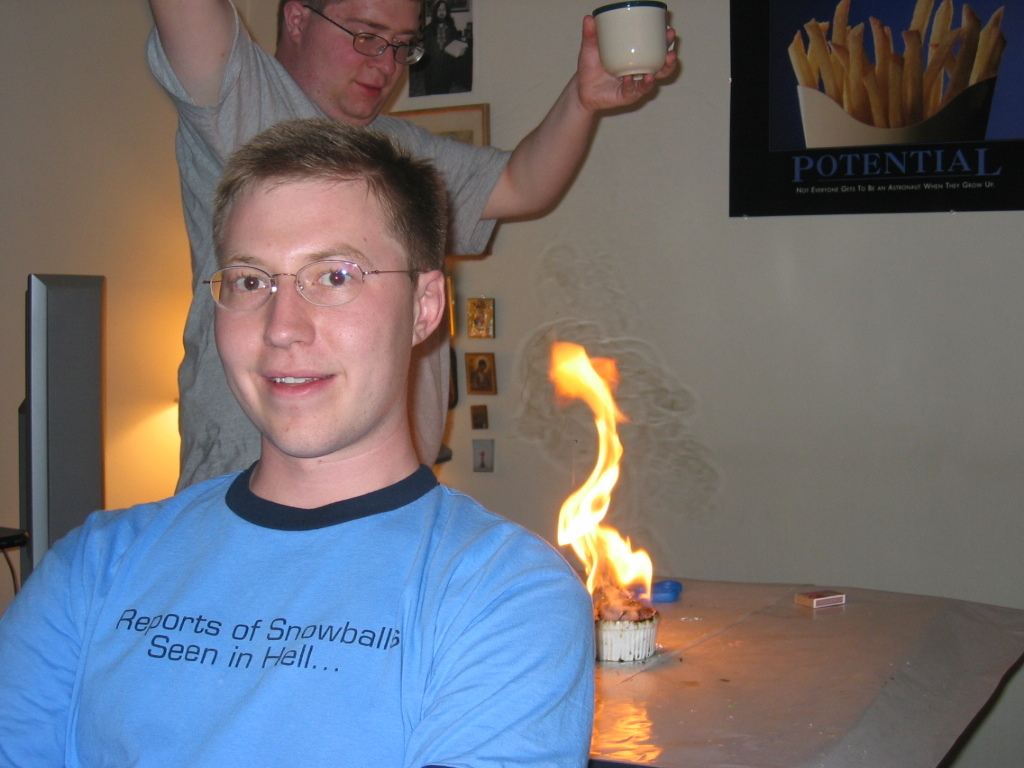
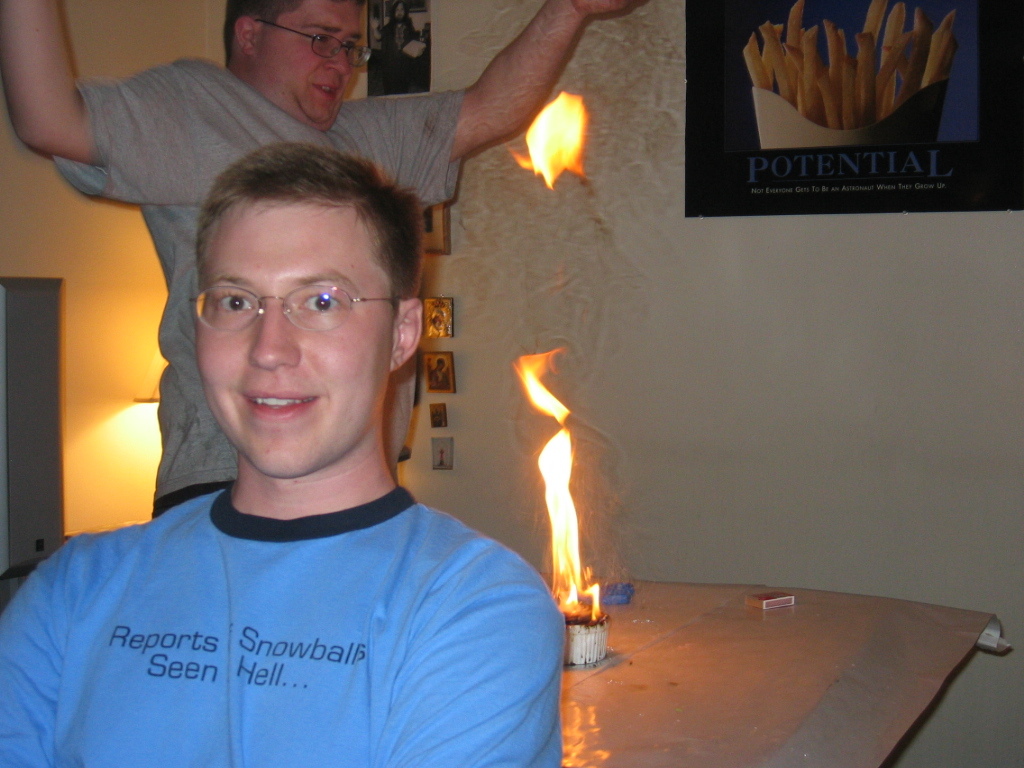
Here's the final picture I ended using for the ward directory, along with two shots from one of the best fireballs of the evening. Note that the two pictures were taken within seconds of each other.

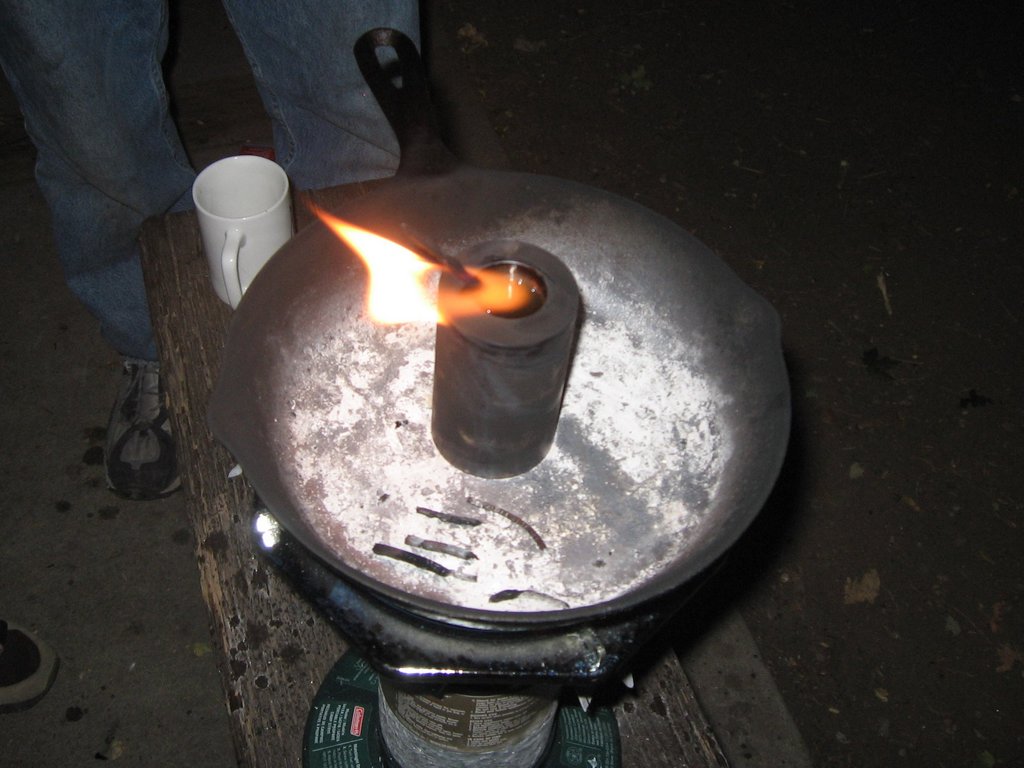
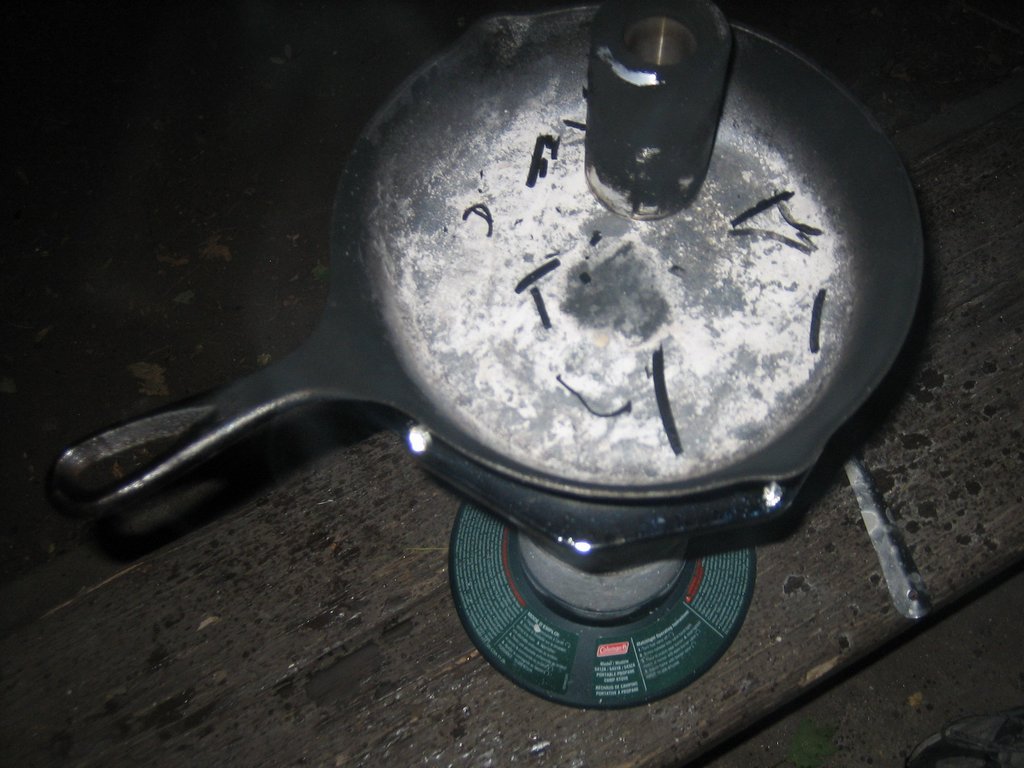
For a year or so, I had been talking about ways of improving the setup of the experiment, but at the end of August I finally decided to do it. The biggest need was to find something good to hold the melted wax. It would also be nice to find a better way to heat the wax. For heating, the obvious idea was to use a propane camping stove. I decided that I should definitely get a small cast iron skillet to keep wax off the stove. After some thought, I decided to make a specialized aluminum piece to hold the wax, and to simply set this directly on the skillet. I machined the piece out of a two-inch diameter bar of aluminum. I drilled and bored a one-inch diameter hole in the bar to a depth of about three inches. From past experience, this seemed to be about the right size and shape for what I was looking for; the hope is that the hole would be narrow enough that wax would build up pressure and shoot straight up.
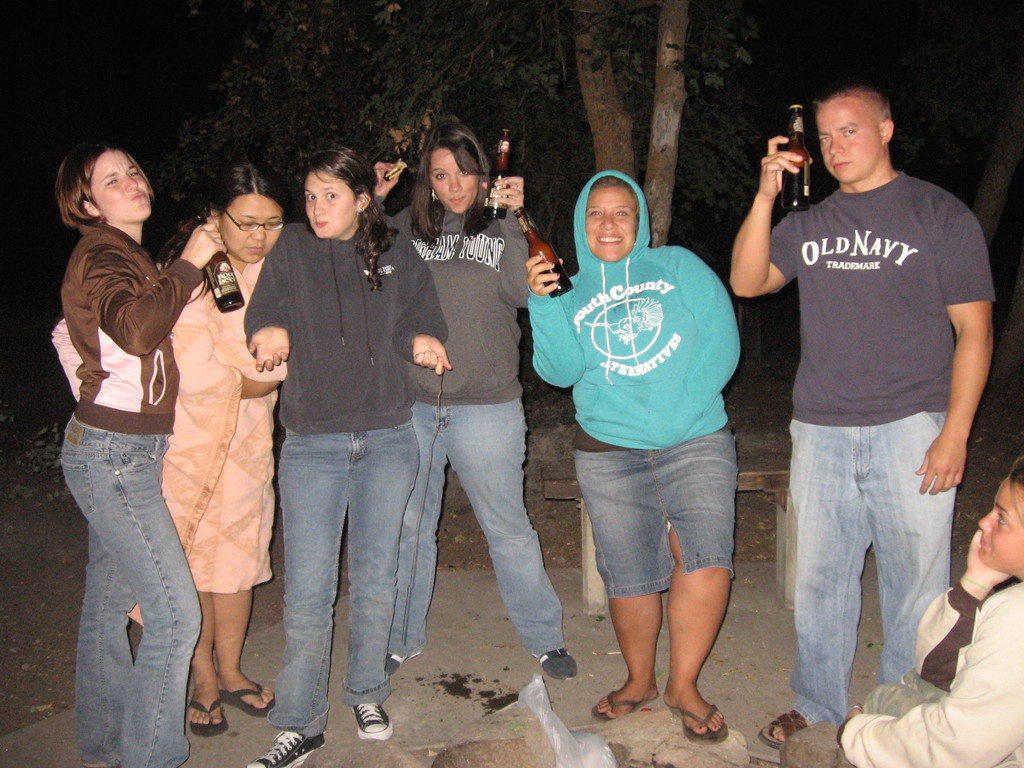
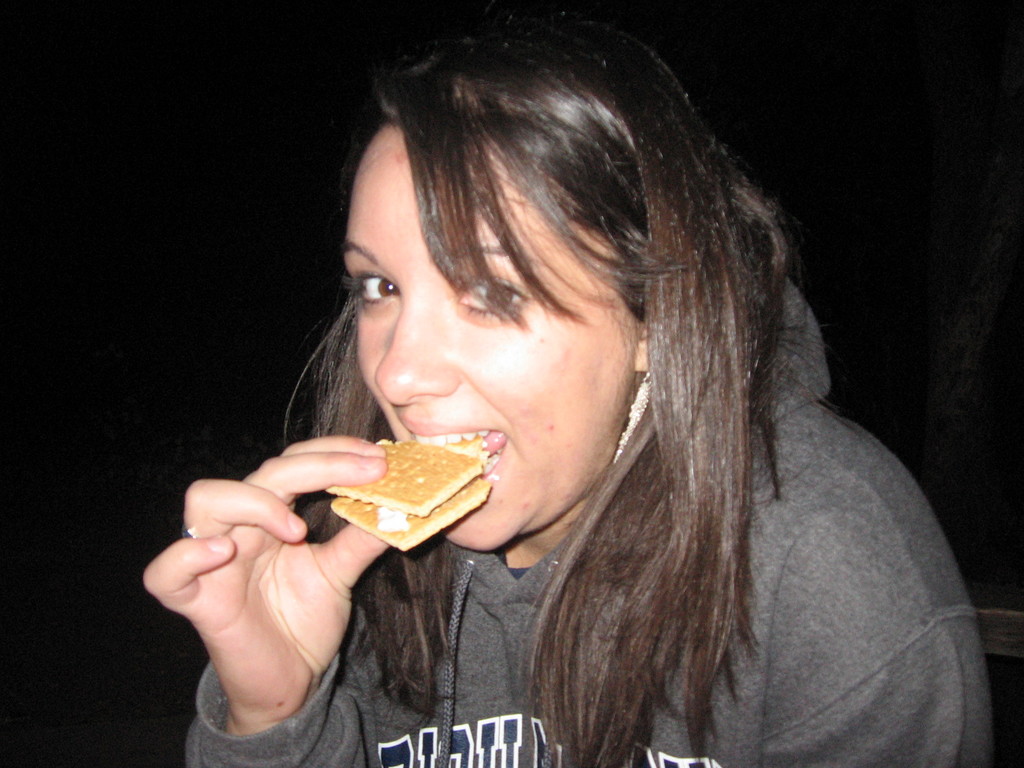
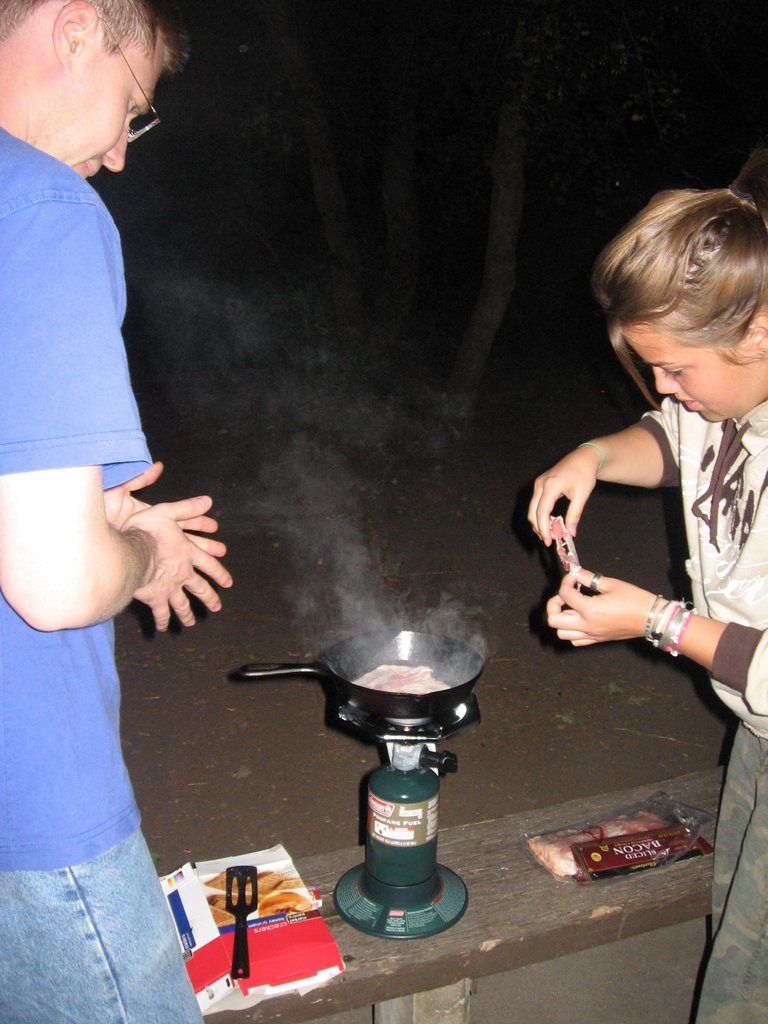
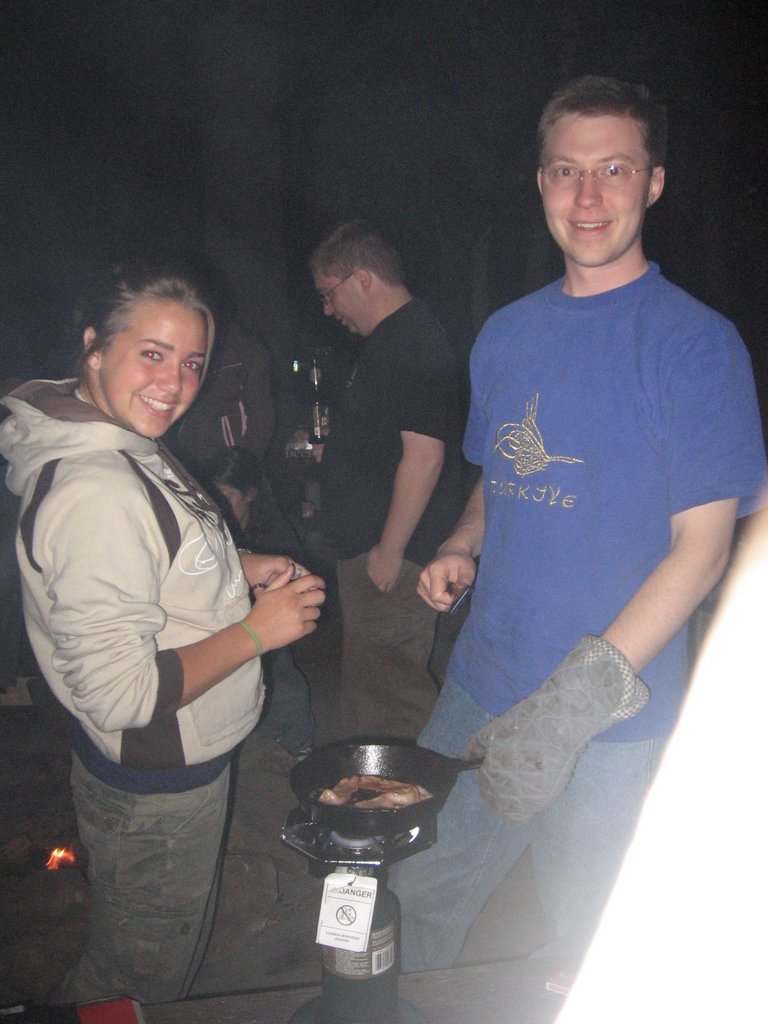
After getting this equipment together, I went with a group of about 10 friends to a secluded campsite. We weren't sure if the experiments would be successful, but we were determined to have fun, so we brought firewood and stuff for smores. I also brought along some bacon. If I'm going to use a skillet to make a big pillar of fire, why not use it to cook some bacon, too? I set up the skillet, and Alex helped with the cooking.
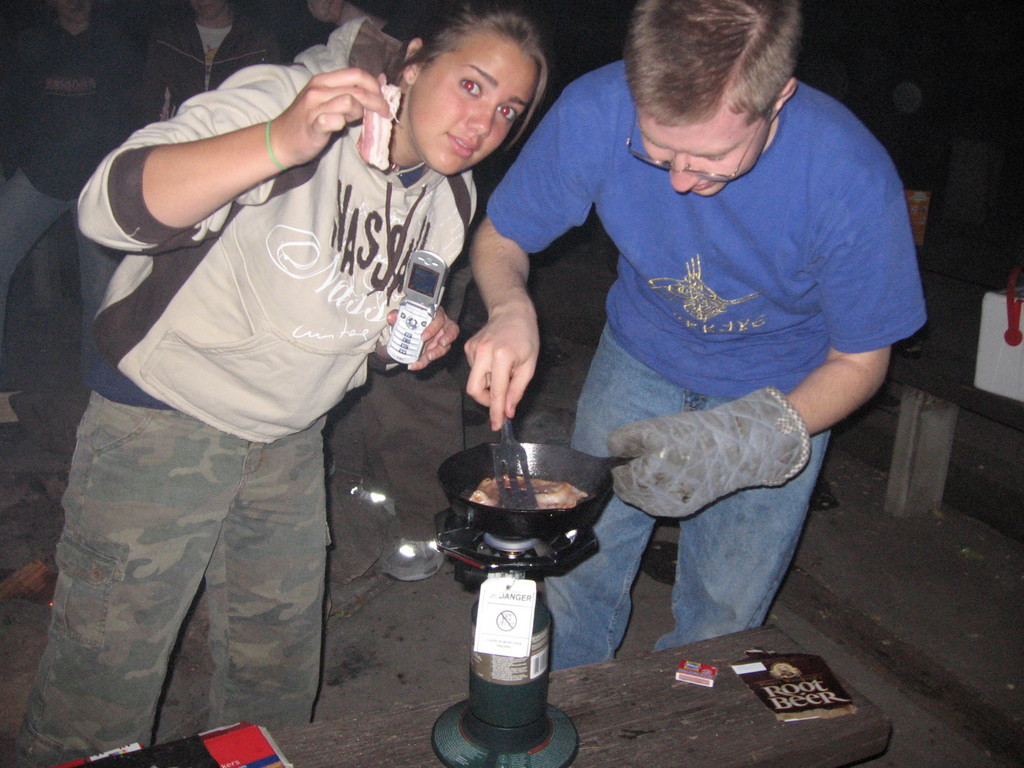
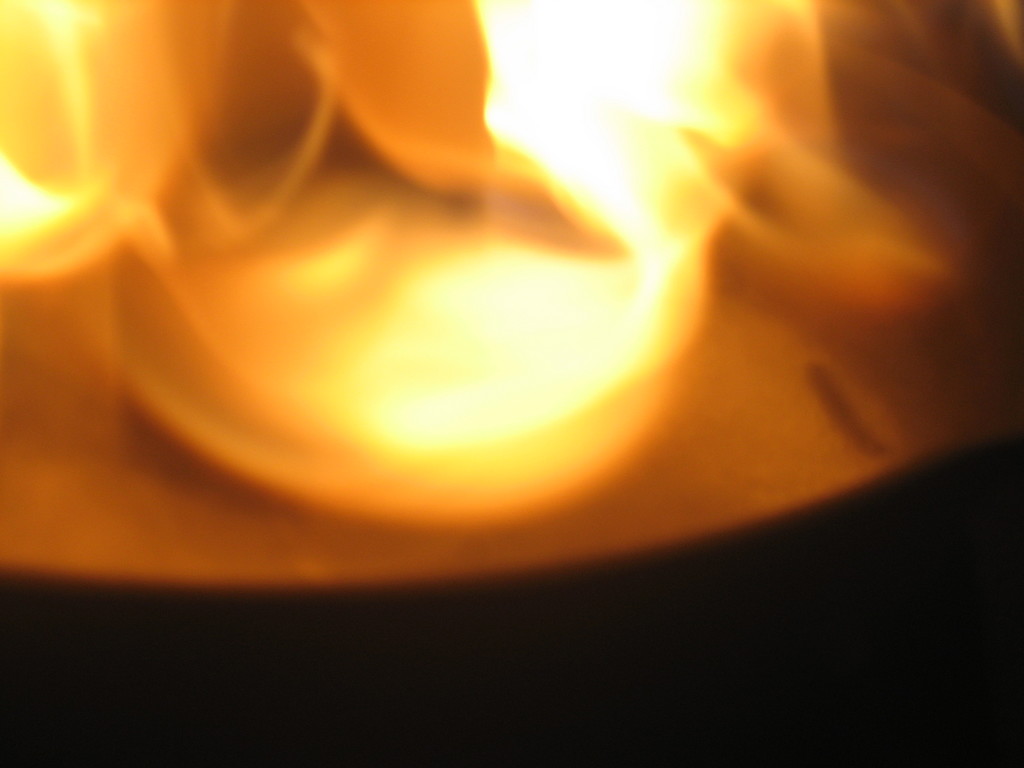
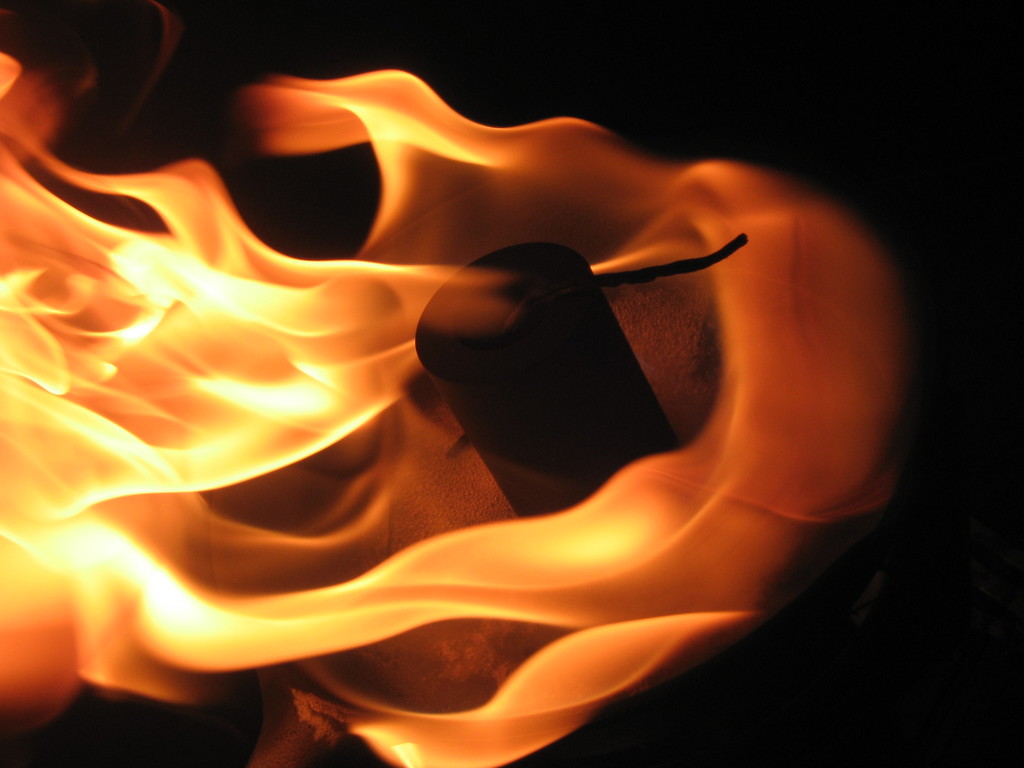
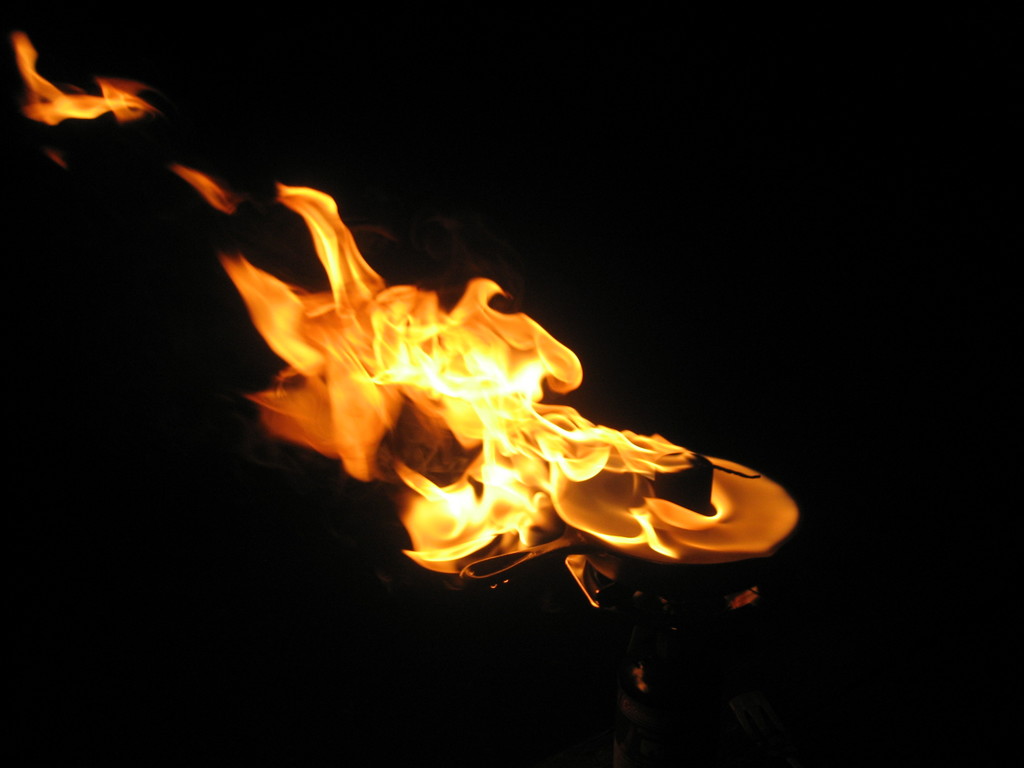
The next step was to put the aluminum piece on the skillet and get it really hot. I used some oversized matches as a wick, which was needed whenever the wax wasn't extremely hot.

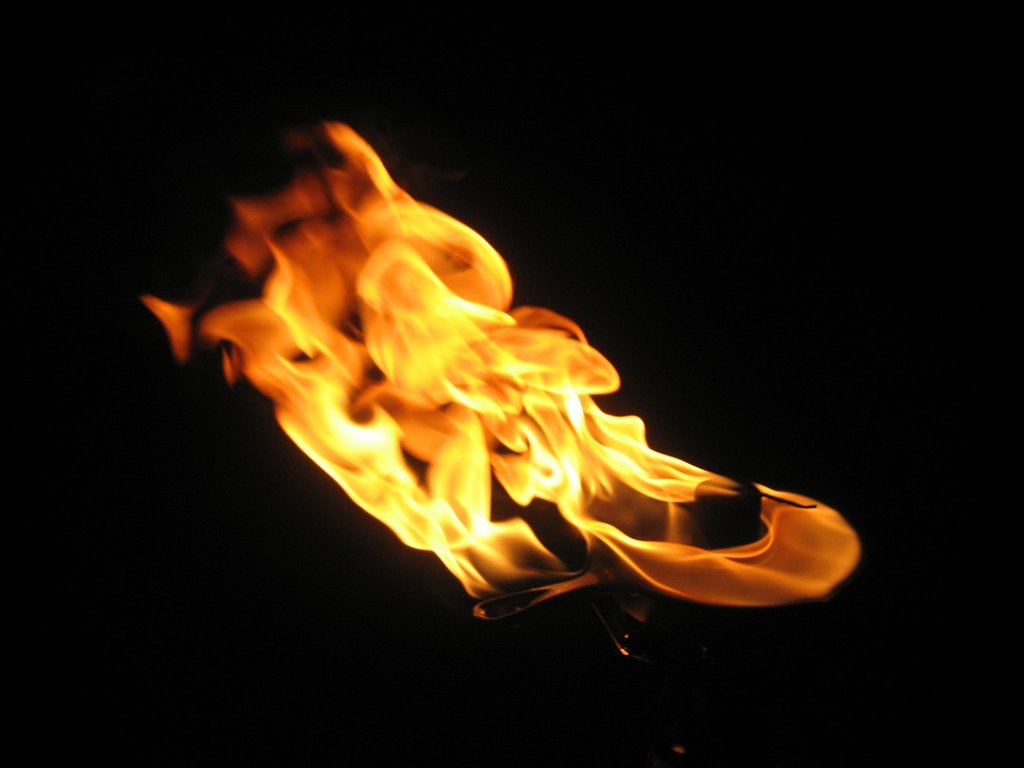
Once the wax was heated, I repeated what I had done in the past. I dropped a drop of water in. It actually turned out pretty well.
After each experiment, we had to add more wax to the aluminum piece and wait for it to heat up. To refill it, I just broke off a chunk of a candle and dropped it in. In general the wax melted very quickly, sometimes within a few seconds, but it had to get much hotter than that before it was ready to go.

One of the main things I wanted to experiment with was ice. The problem with water drops is that they're small and they evaporate before sinking very deep into the pool of wax. Small chunks of ice seemed like a good alternative. Since they're colder than water but still denser than melted paraffin, they should be able to sink further before evaporating. Additionally, they're larger than a drop of water, so they should be able to produce a more powerful effect. Taking all of this into account, I hoped that the ice would be able to build up more pressure and shoot out more wax than water could.
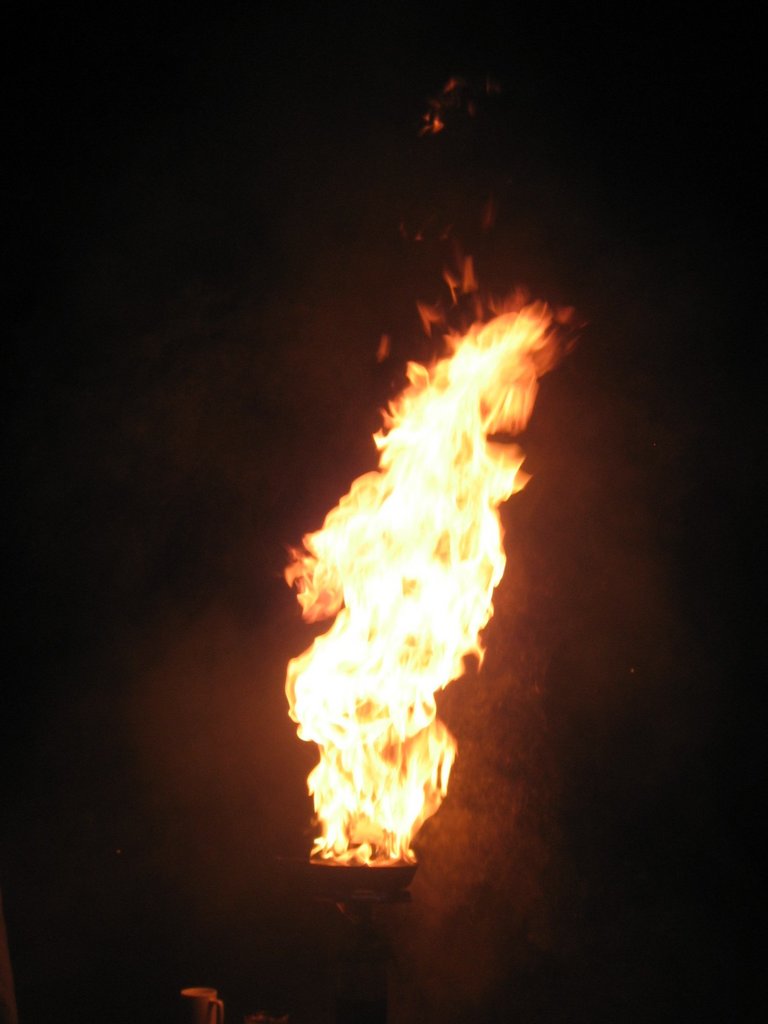
I dropped ice into wax three different times. Unfortunately, I was excited to see what would happen, so I didn't give Linda and Christine (the photographers of the evening) enough warning to take pictures from the first time I dropped ice in. It was awesome, though. The fire went up to about 10 feet above the ground.
The second run was the best one. After I dropped the ice in, the fire went up about 15 feet. Unfortunately, I didn't give quite enough advance notice, so both of our pictures show the flame as it's dying down. They're still great pictures.
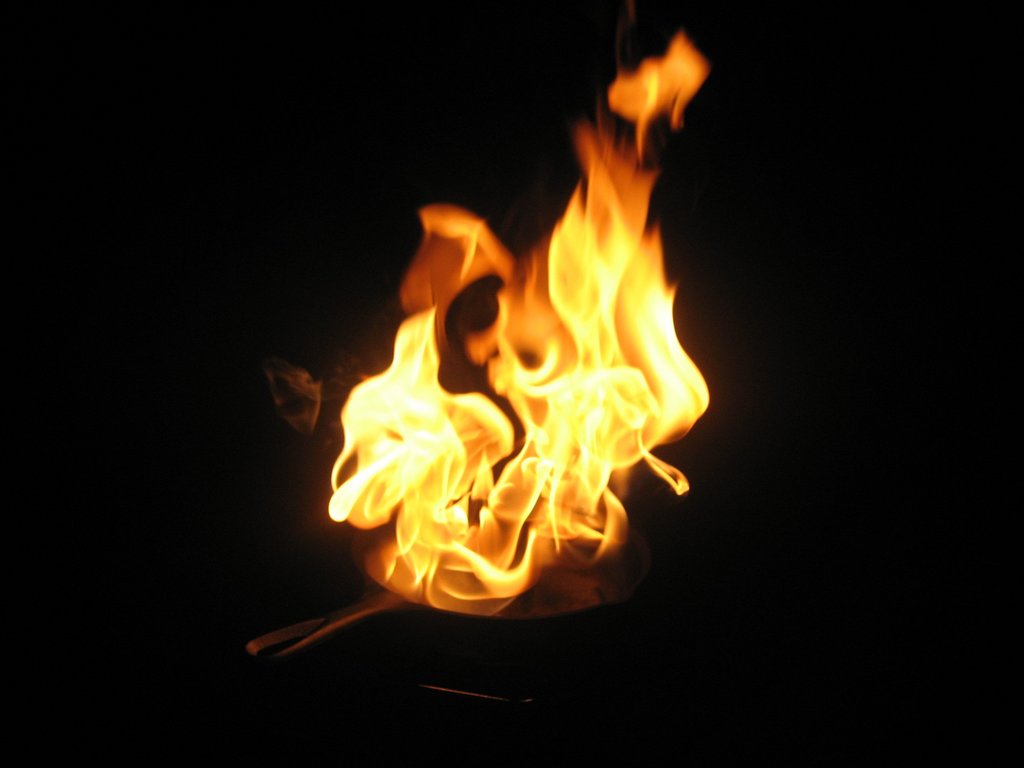
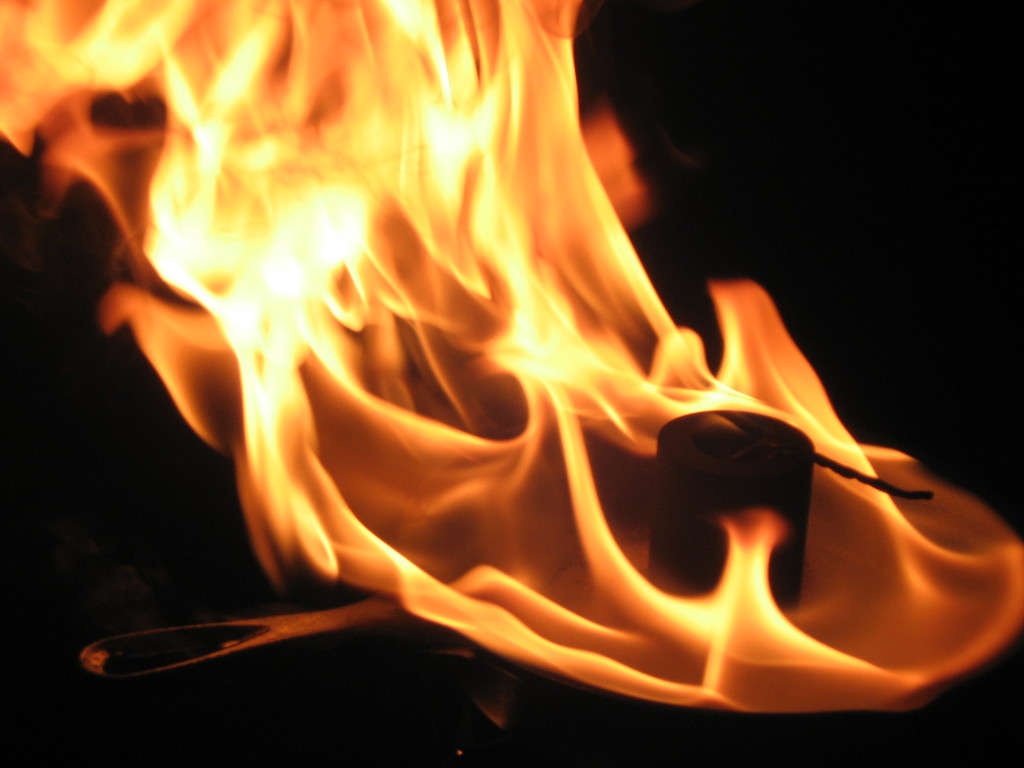
One interesting effect was that a lot of the sprayed wax ended up in the skillet, which was so hot that it caught on fire for a surprisingly long time. This was the fire that followed the second ice drop.

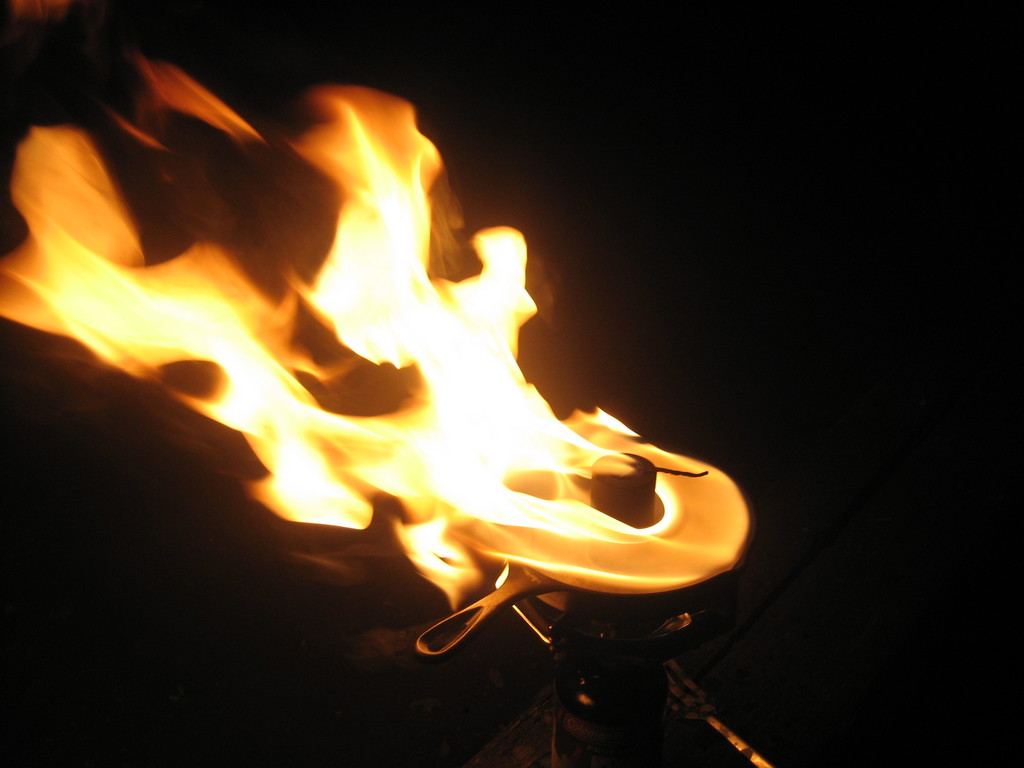
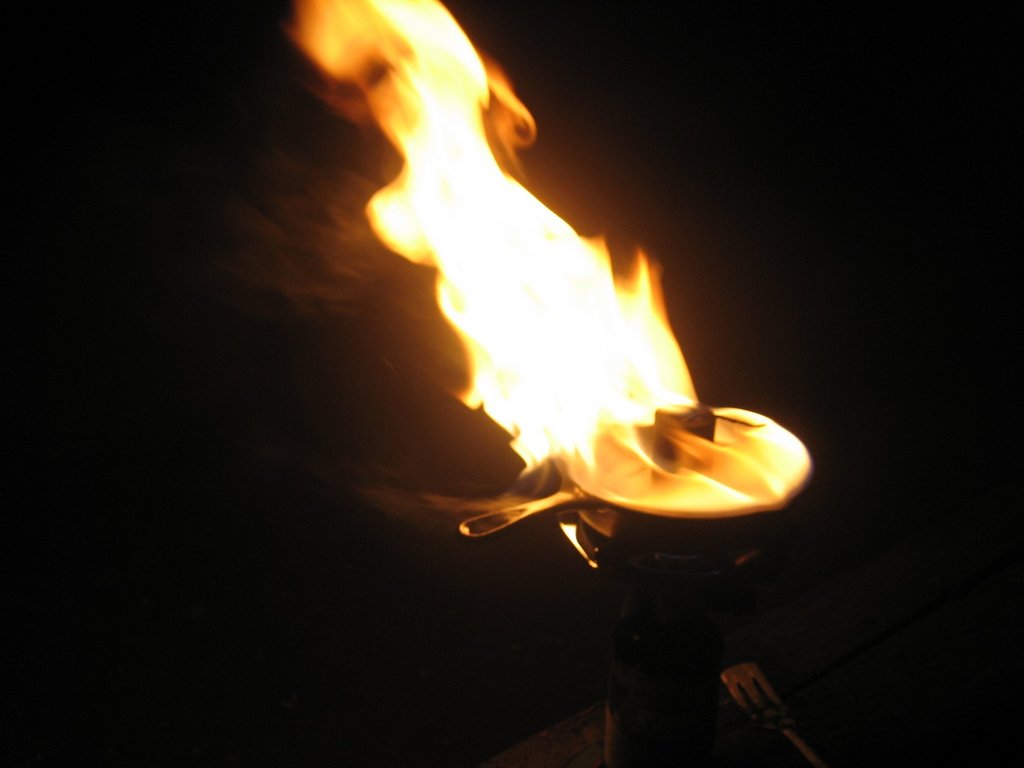
These next pictures were taken in between the second and third ice experiments. They're probably the clearest pictures for showing how everything was set up.

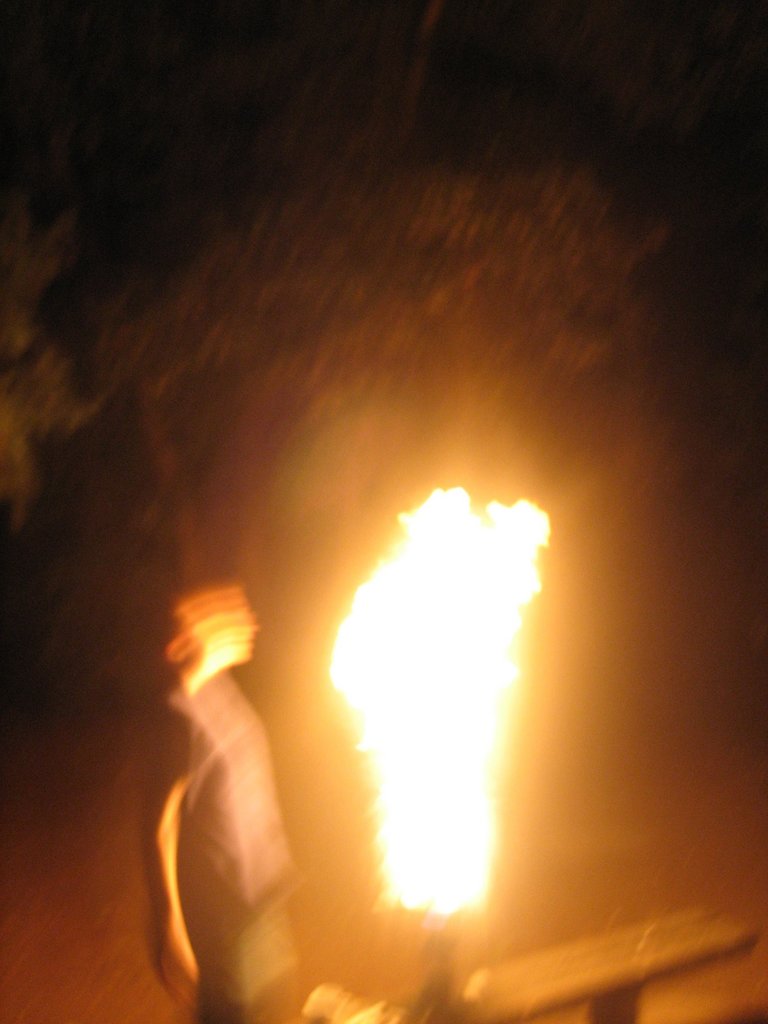
The third ice drop didn't produce quite as tall of a pillar as the second one did, but it was a little wider and lasted a little longer. Here's a photo that was taken a bit late, but it's interesting because you can see how my head moved down as the flame shrank.
The most amazing footage is the video clip of the third ice experiment, taken by Christine:
At the end, we had some candles left over, so we dropped them into the skillet. It was neat to watch the process as they vaporized and then started burning.


In addition to dropping wax directly into the skillet, it was fun to wipe the handle with a candle. As the candle made contact with the cast iron, some wax immediately melted onto the handle, which quickly lit up in flames.
After most of the wax had been used up, the flame went out, but there was still some very hot wax in the aluminum piece. Just for fun, I poured some of it into the skillet:


The propane tank was amazingly cold. Check out the frost on it.

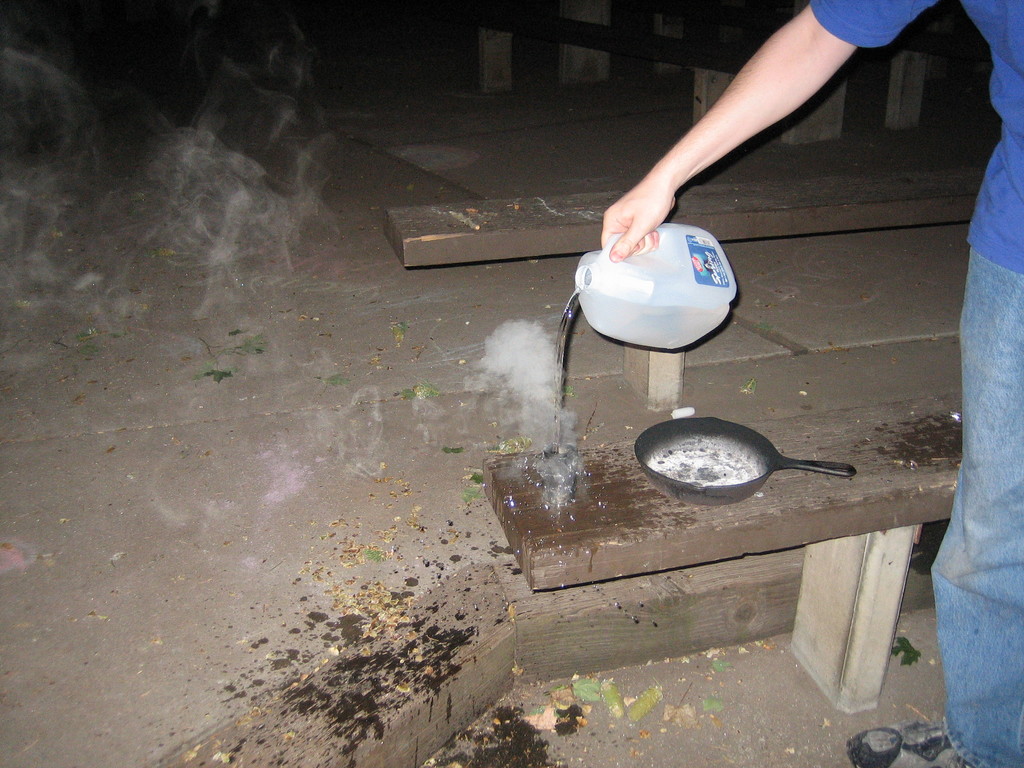
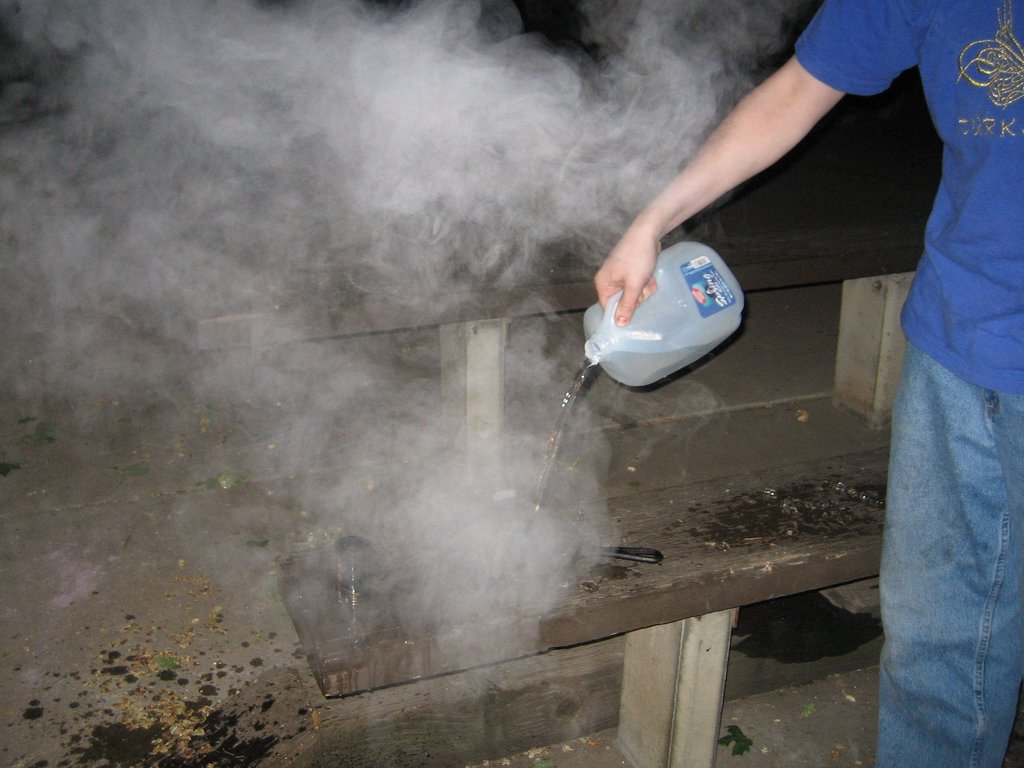
It was after midnight, and everyone was ready to go home, but the skillet and the aluminum piece were still very hot. I cooled them down by quenching them. As water fell into the center of the aluminum piece, it shot back out like a geyser. It was really slick. Although the photo is from the end, after the aluminum had cooled dramatically, there is still a lot of hot water spraying everywhere. Not surprisingly, quenching the skillet caused a ton of oxidation, but we really had to go.
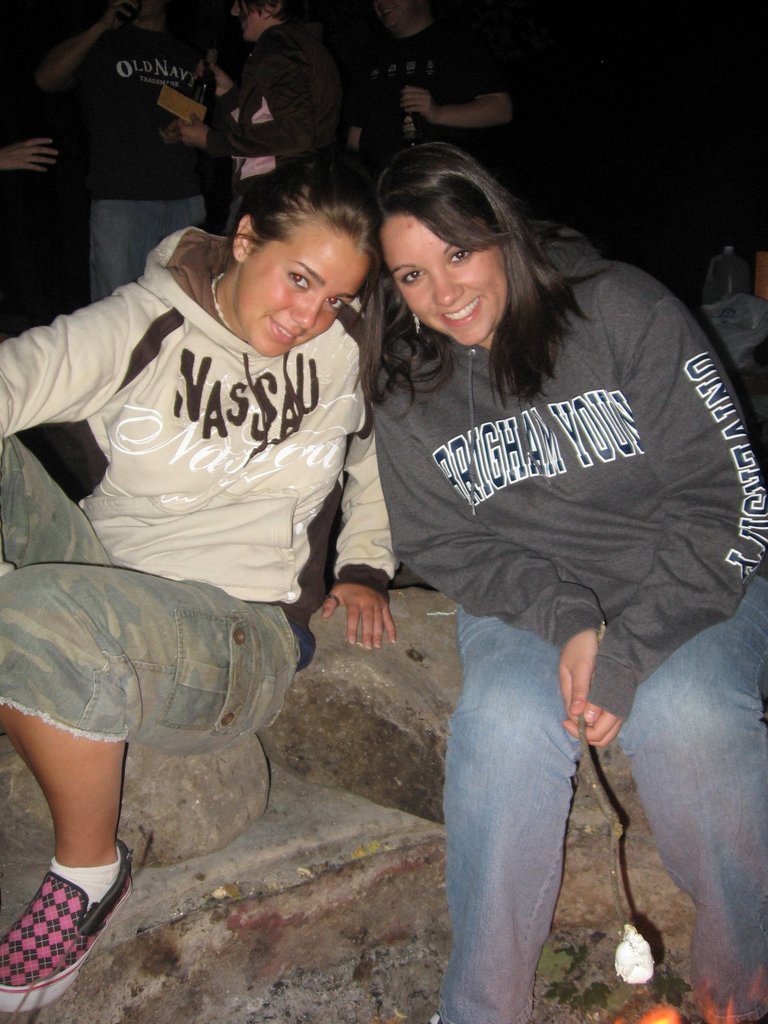
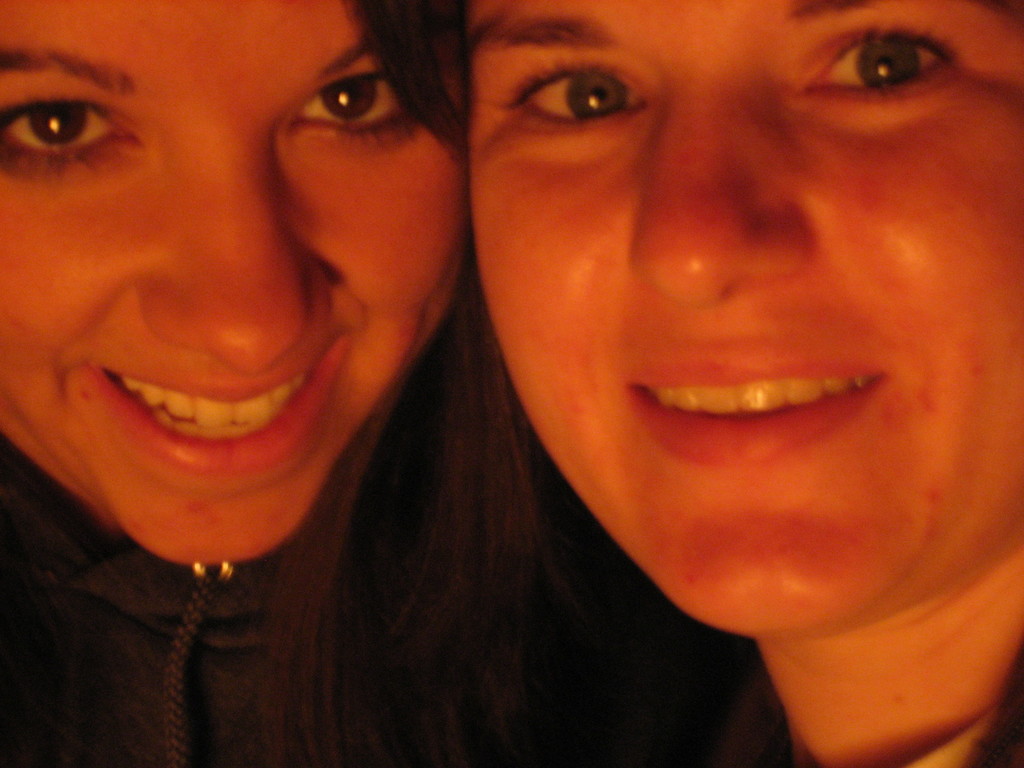
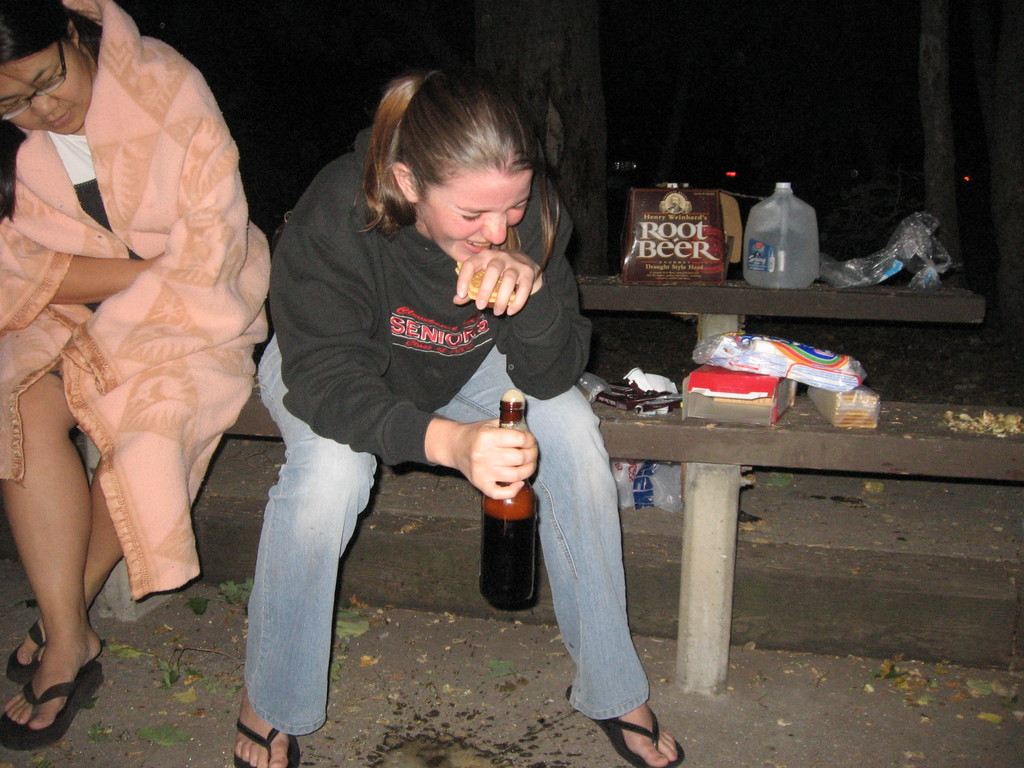
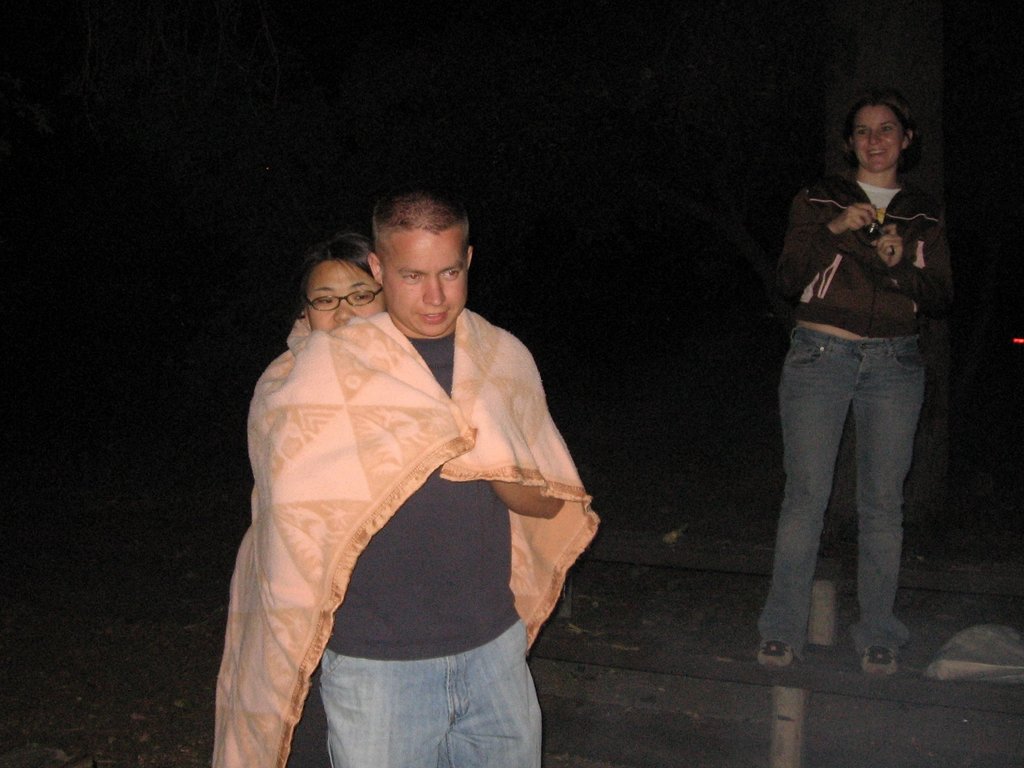
Finally, here are some other miscellaneous pictures from throughout the evening.